What you'll need:
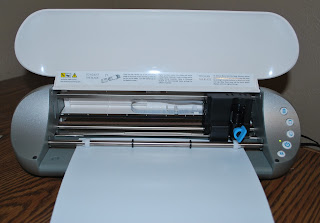
Silhouette
Onesie (mine is from Michaels)
Heat Transfer Sheet
Iron and ironing board
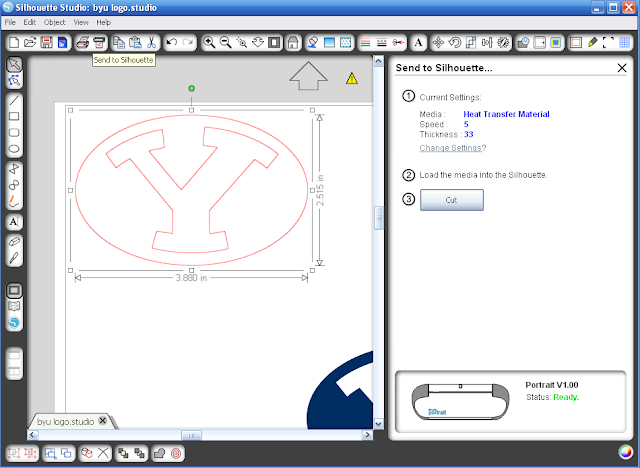
1) Open your shape you want to cut in your Silhouette Studio. Image needs to be flipped horizontally to work.
Object - Transform - Flip Horizontally
2) Enter your Silhouette Cut Settings, the Heat Transfer Material will be added WITHOUT the cutting mat. Make sure to add the 'flocked' or 'smooth' heat transfer setting.
3) Place your Heat Transfer with shiny side DOWN

4) Send to the Silhouette = CUT

5) Cut around your shape and peel off the negative areas.
6) Place image centered on onesie with shiny side up
7) Place sheet in,between onesie and iron and press for 45-60 seconds. If it doesn't fully stick, hold iron again until it does (I had to do it about three times, maybe my iron wasn't hot enough?)
And ta da! Awesome finished product!


This is a really neat project. I've often wanted to try some custom iron-ons on onesies, but I always put it on the back burner. How do you enjoy your Silhouette machine?
ReplyDelete