For this project I chose a picture of the Savior and a board about 15x12 inches from Roberts. It already cut into the square and with a Roberts 50% off coupon I bought the piece of wood for about $4.

I found the picture I wanted and would I set it on the wood to measure how big I needed to cut it. Here, I am using a pencil to mark where it needed to be cut. Make sure that the picture covers the whole tile well enough to not wrap around into the cracks of the wood or the picture won't flow or match as well.

As a warning: careful of the pictures you use or their positioning on the wood. I had to center my picture a little off-center or it would have been cutting the Savior's face in half. ALSO, make sure that your paper is thick or durable. Too thin of paper will allow the coating to soak through which isn't good.

Next I painted the board black and filled in all the gaps and spaces too.

I used Mod Podge to carefully glue on the picture.

With other paper I had, I placed a border around my picture and also used the tiles around it to add some paper and color (like in the top left corner).

I wanted my tiled work to say "I know that my Redeemer lives" so I printed it out in Word and would lay it down on my picture and trace through. I then went back with black paint to trace the saying.

When everything is dry and glued on, I placed the wood on two equal sized cans (to raise it up so the coating will just run over) with newspaper underneath.
The Coat On I used was equal to 50 layers and I was able to complete my project with 4oz of it. I mixed them together and with two people I would pour and use a flat edge (like a popsicle stick or a straw I guess) to smooth everything out on top. Make sure to get the edges and have it fall off the edges.

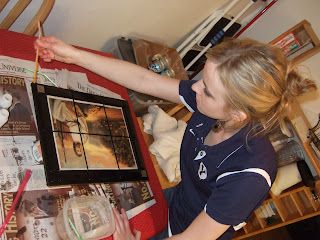
Here I am using a straw to blow inbetween the cracks to get out the coating.

Here it is!!!! I waited about 24 hours till it was pretty dry but allowed about 48 hours. Again, make sure the picture is thick enough so the coating won't soak in!


