
 |
1: Get your materials. For the middle flowers I used an organza and burned the edges.
The other 6 flowers I used ribbon or fabric.
1/8 yard of organza
Two spools of different colored ribbon
1/8 yard of another fabric
Other materials: hot glue gun, thread and needle, lace, headband, alligator clip, piece of felt, scissors

3. Even though this is another color, this is what the organza petals look like. You want to arrange the order of the petals (I put the biggest petals on the bottom to the smallest ones on top). I then hand sew the middle of the flower a few times.

4. You can tell from this pink flower that I hand-sewed a few times back and forth to keep the flower in place. I used a tan linen to create some of my flowers, and white ribbon for the other flowers.

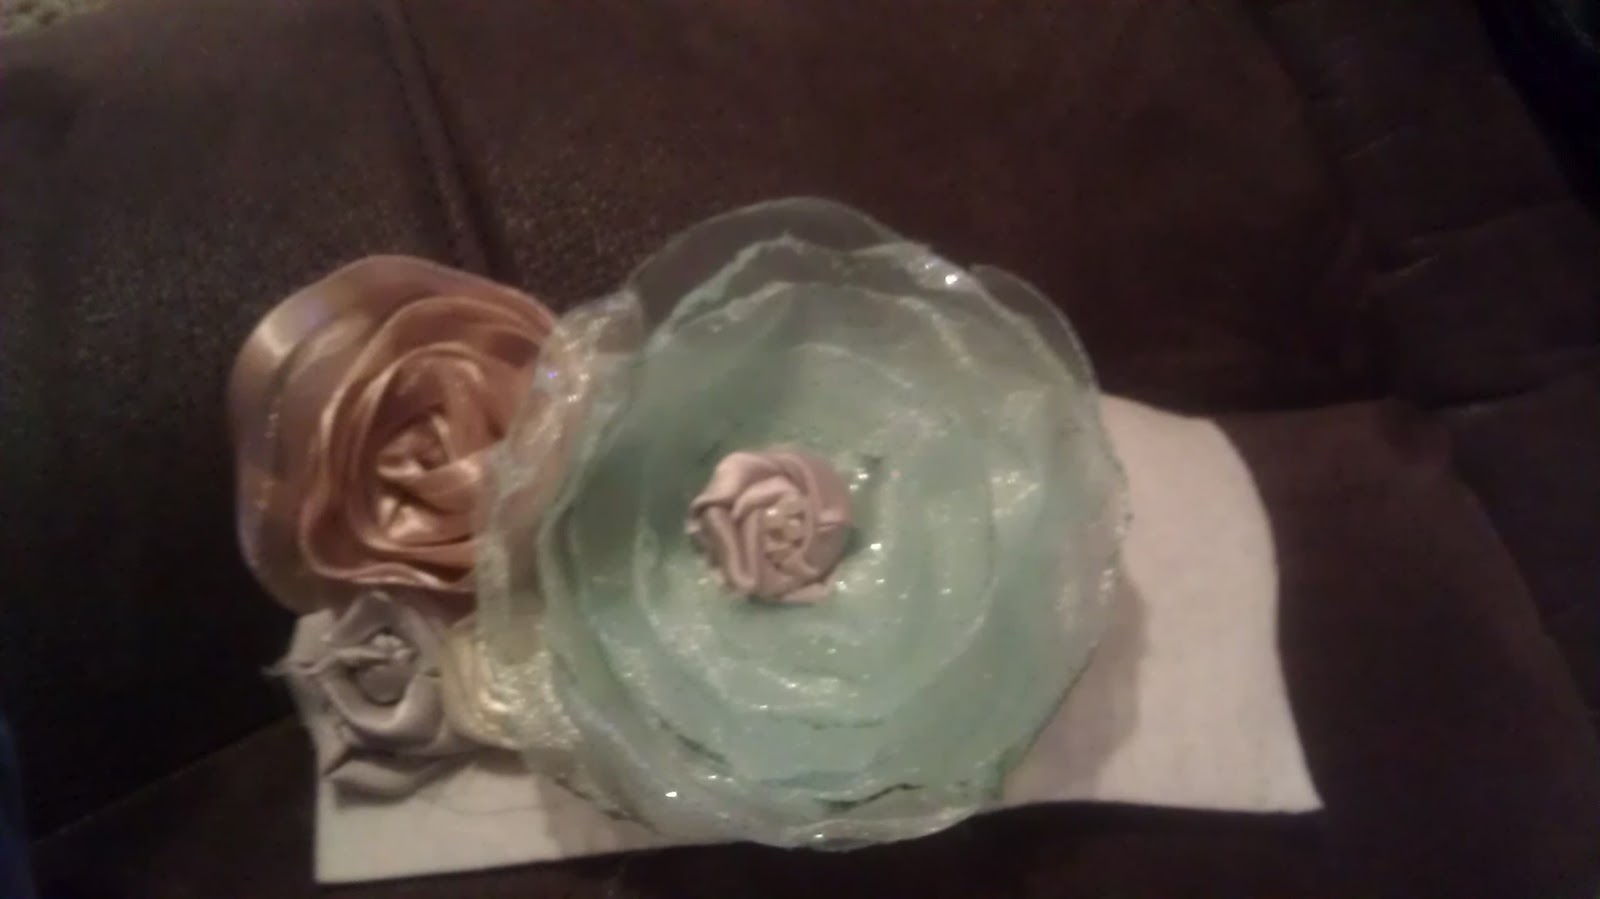
5. Here is the other headband I started off with. After you decide which flowers you want to create you can start placing them on the piece of felt. I then start gluing the middle parts of the flowers (not the whole thing or you might not be able to see the other flowers). I glue the organza flower in the middle and then continue gluing the flowers closest to the organza.
6. After everything is glued, I cut the excess felt as close to the flowers as possible. I then can add pearls, the headband part (you can also glue an alligator clip to the back to take it on and off of the headband), and lace


This is really cute. I like the technique. I just found your blog through the Dedicated Home. I am right in the middle of designing and decorating my daughters nursery, as well as just transforming my sons nursery into a little boys room. I am so glad I found your blog just in time!! I would love for you to swing by and see what I have been working on for the nursery.
ReplyDeletehttp://theconsignerdesigner.blogspot.com
I found your blog through a linky party somewhere. :) This is such a beautiful over the top headband. Thanks for showing us how. Linda
ReplyDeleteThis headband looks great! Nice job and I love your tutorial. Thanks for linking up at Take it on Tuesday!
ReplyDeleteLove the headband ... never thought of burning the edges. Nice look. Thanks for sharing.
ReplyDeleteNew Follower. Thanks for stopping by Timeless Treasuries and becoming a follower.
Blessings,
Audrey Z. http://audreyzumwalt.blogspot.com/
Very sweet! I have a brand new niece - a week old today! My kiddos are all in their 20s now. It sure flies by quickly.
ReplyDelete-Revi
Love the headband, and like how you burned the edges, gave it a vintage look. You also gave a great tutorial so we can do also! Thanks for sharing your creative inspiration with Sunday’s Best – you helped make the party a success!
ReplyDeleteWhat a beautiful headband! I love it. Thank you so much for stopping by my blog. I am your newest follower. Loving your amazing blog. :)
ReplyDeleteOh that came out so pretty! The organza makes such beautiful petals. You are very talented! Have a wonderful day! :)
ReplyDelete